🧠 What is Arduino?
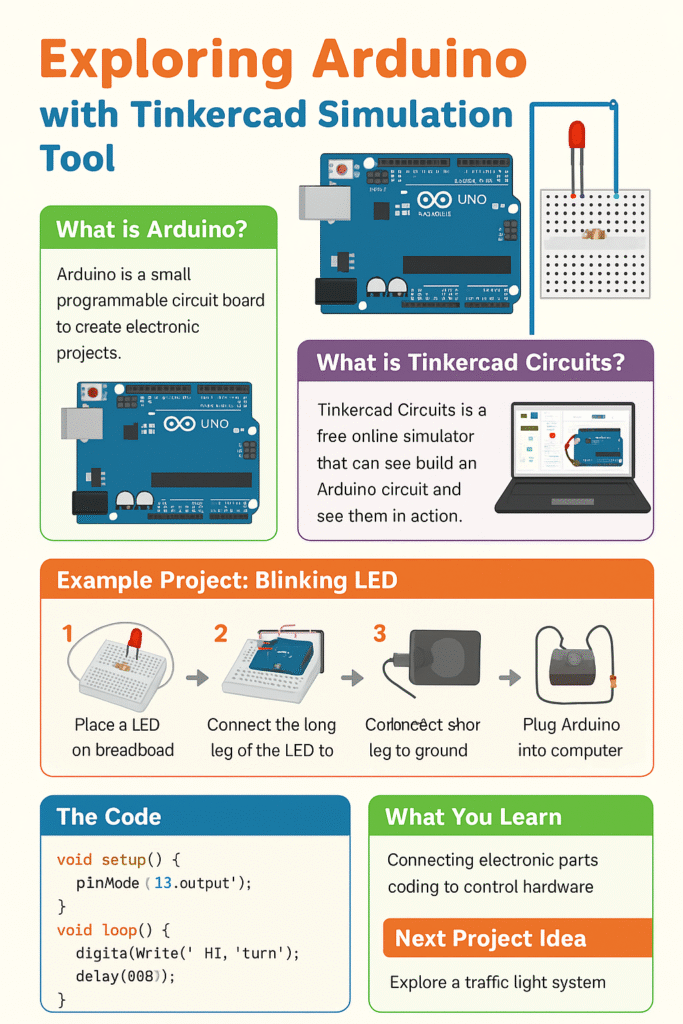
Arduino is a small programmable circuit board that helps you create electronic projects — from blinking lights to robots!
It’s great for students because it’s simple, affordable, and teaches science, technology, and coding in a fun way.
💻 What is Tinkercad Circuits?
Tinkercad Circuits is a free online simulator created by Autodesk.
It lets you:
- Build Arduino circuits right on your computer — no hardware needed!
- Write code and see what happens instantly.
- Learn electronics safely and easily.
🔗 Website: https://www.tinkercad.com/circuits
⚙️ Why Use Tinkercad for Arduino?
- 🧩 No physical parts needed — everything is virtual.
- 🪄 Drag-and-drop tools make it kid-friendly.
- 💡 Instant simulation helps you learn by doing.
- 🌍 Free and web-based — just log in and start creating!
🔦 Example Project: Blinking LED Light
Let’s make a simple Arduino project in Tinkercad — a blinking LED.
It’s the “Hello World” project for electronics learners!
🧩 What You’ll Need (in Tinkercad)
Inside Tinkercad Circuits, drag and drop:
- 1️⃣ Arduino Uno board
- 💡 1 LED (Light Emitting Diode)
- ⚡ 1 Resistor (220Ω)
- 🪡 Breadboard and jumper wires
🔌 Step-by-Step Simulation Setup
- Create a new circuit in Tinkercad.
- Drag the Arduino board and a breadboard onto the workspace.
- Place the LED on the breadboard.
- Connect the long leg (positive) to Pin 13 on Arduino.
- Connect the short leg (negative) to GND through a resistor.
- Open the Code Editor (top-right) → Choose “Text” mode for real code.
💻 Write This Code:
void setup() {
  pinMode(13, OUTPUT); // Set pin 13 as output
}

void loop() {
  digitalWrite(13, HIGH); // Turn LED ON
  delay(1000);            // Wait 1 second
  digitalWrite(13, LOW);  // Turn LED OFF
  delay(1000);            // Wait 1 second
}
▶️ Run the Simulation
Click “Start Simulation” in Tinkercad.
You’ll see the LED blink ON and OFF every second — congratulations, you just built your first Arduino project!
🧠 What You Learned
- How to connect basic electronic parts
- How coding controls physical devices
- How Tinkercad simulates real-world electronics safely
🚀 Next Project Ideas
Once you master the blinking LED, try:
- 🚦 Traffic Light System
- 🌿 Automatic Plant Watering System
- 🔊 Buzzer Alarm for Security
🌈 Conclusion
Tinkercad makes learning Arduino fun, safe, and creative for students.
By experimenting with circuits and code, you can bring your ideas to life — even without any wires or tools at home.
Start with Tinkercad today and become a young inventor! 💡🤖

No responses yet