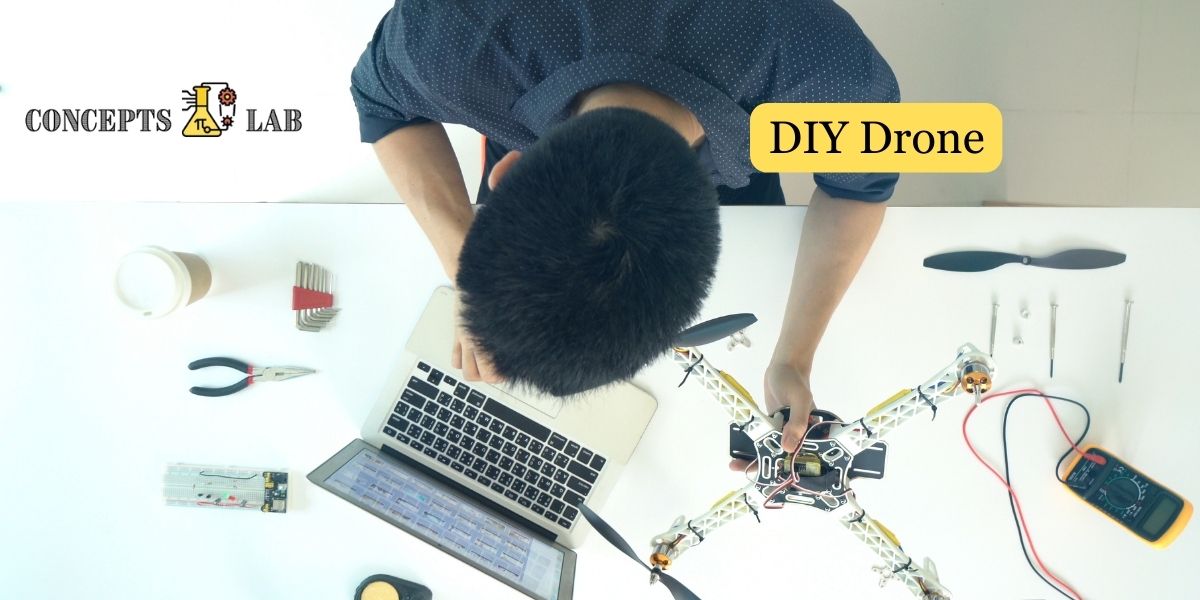
Building a DIY drone can be a fun and educational project for kids, teaching them about aerodynamics, electronics, and programming. However, it’s important to note that flying drones outdoors should be done in accordance with local regulations, and supervision is crucial, especially for younger kids. Here’s a simple guide for a DIY drone project suitable for kids:
Materials Needed:
- Frame:
- Choose a lightweight and durable frame. Options include plastic, foam, or wood frames.
- Motors:
- Select small brushless DC motors suitable for the size of your drone frame.
- Propellers:
- Pair propellers with the motors. Ensure they are compatible with the motor size.
- Electronic Speed Controllers (ESCs):
- Use ESCs to control the speed of the motors. Make sure they match the specifications of your motors.
- Flight Controller:
- Choose a flight controller with gyroscopes and accelerometers. This is the “brain” of the drone.
- Battery:
- Select a lightweight and rechargeable lithium-polymer (LiPo) battery with appropriate voltage and capacity.
- Radio Transmitter and Receiver:
- Get a radio transmitter (controller) and receiver for remote control.
- Power Distribution Board:
- Use a power distribution board to distribute power from the battery to different components.
- Frame Mounting Hardware:
- Bolts, nuts, and other hardware to assemble the drone components onto the frame.
- Connectors and Wiring:
- Use connectors and wiring to link the electronic components.
Tools Needed:
- Screwdrivers
- Soldering iron and solder
- Wire cutters/strippers
- Heat shrink tubing
- Pliers
Steps:
1. Build the Frame:
- Assemble the frame according to the instructions provided with the frame kit.
2. Mount Motors:
- Attach the motors to the frame using the mounting hardware.
3. Attach Propellers:
- Attach propellers to each motor. Pay attention to the direction of rotation.
4. Install Electronic Speed Controllers (ESCs):
- Connect the ESCs to the motors, and mount them securely on the frame.
5. Connect Power Distribution Board:
- Connect the ESCs to the power distribution board, which is connected to the battery.
6. Install Flight Controller:
- Mount the flight controller in the center of the frame. Connect it to the ESCs, receiver, and power distribution board.
7. Connect Radio Transmitter and Receiver:
- Bind the radio transmitter with the receiver. Connect the receiver to the flight controller.
8. Test and Calibrate:
- Test each motor’s rotation and ensure that the drone responds correctly to the radio transmitter. Calibrate the flight controller if needed.
9. Programming (Optional):
- Some flight controllers allow additional programming for advanced features. This step is optional and depends on the controller’s capabilities and the level of expertise.
10. Safety Check:
- Ensure that all connections are secure, and there are no loose wires. Double-check that propellers are correctly attached.
11. Fly in a Safe Area:
- Take the drone to an open and safe outdoor area away from people, buildings, and other obstacles. Follow local regulations regarding drone flying.
12. Supervision:
- Ensure that kids are supervised by an adult while operating the drone.
Tips for Success:
- Start Simple: For beginners, consider simpler designs and gradually move to more complex builds as skills improve.
- Learn Together: Make it a collaborative project, with adults and kids learning and building together.
- Safety First: Emphasize the importance of safety and responsible flying practices.
Remember, this project requires careful attention to detail and adult supervision, especially during assembly and testing phases. Always follow local regulations when flying drones, and ensure that you are in a safe and open area.


No responses yet