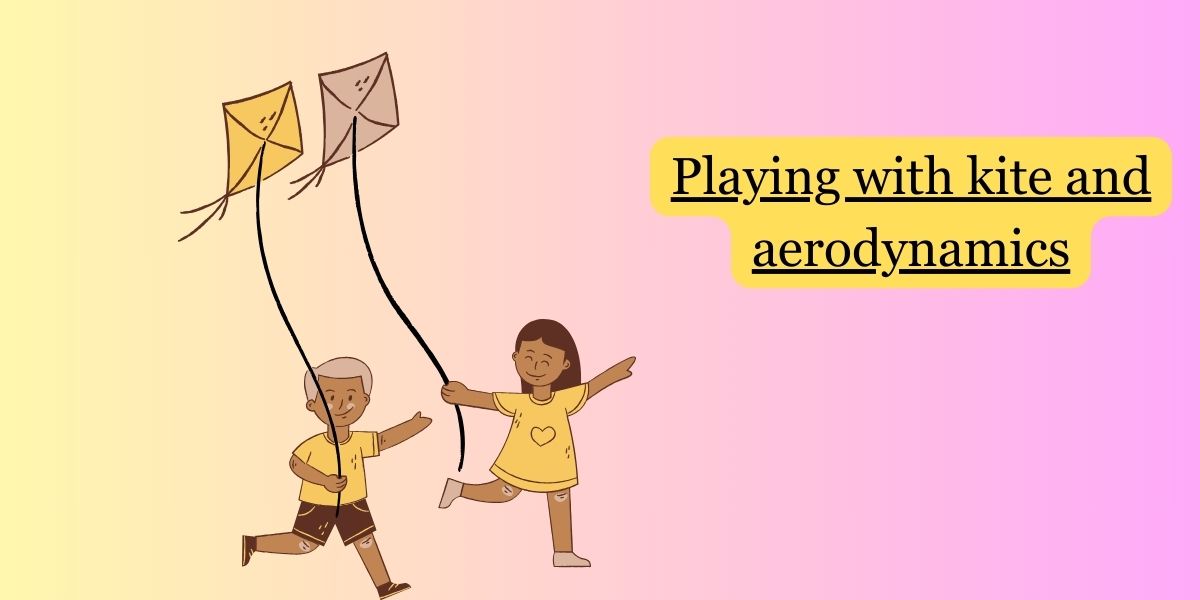
Kites are fascinating objects that involve principles of aerodynamics, the study of how air interacts with solid objects as they move through it. Understanding aerodynamics is crucial for designing and flying kites effectively. Here’s a brief exploration of how aerodynamics plays a role in kite design and flight:
Kite Shape and Lift:
- Kite Shape:
- The shape of a kite is crucial for achieving lift. Most traditional kites have a flat, elongated shape. This shape helps the kite catch the wind and generates lift.
- Leading Edge and Trailing Edge:
- The leading edge of the kite is the front part that faces into the wind, and the trailing edge is the back part. The shape and curvature of these edges impact how the air flows over and under the kite, influencing its stability and lift.
- Angle of Attack:
- The angle at which the kite meets the wind, known as the angle of attack, is vital. A slight angle of attack allows the wind to flow over and under the kite, creating lift. Too much or too little angle can affect the kite’s stability and lift.
Forces on a Kite:
- Lift:
- Lift is the force that allows a kite to rise into the air. It is generated by the pressure difference between the upper and lower surfaces of the kite. Air flowing over the curved upper surface creates lower pressure, lifting the kite.
- Gravity:
- Gravity pulls the kite downward. The balance between lift and gravity determines whether the kite rises, descends, or hovers in the air.
- Drag:
- Drag is the resistance of the air against the kite’s forward motion. While a certain amount of drag is necessary for stability, minimizing excessive drag helps the kite move smoothly through the air.
Tail and Stability:
- Tail Design:
- Tails on kites are not just decorative; they play a role in stability. They create drag at the kite’s trailing edge, helping to balance and stabilize it in flight.
- Stability:
- Achieving stability involves finding the right balance between lift and drag. A well-designed kite will have a stable configuration that allows it to soar gracefully in the wind.
Wind Window and Control:
- Wind Window:
- The wind window is the three-dimensional space where the kite can fly. Understanding the wind window helps kite flyers navigate and control their kites effectively.
- Control Surfaces:
- Modern kites often include control surfaces, such as bridle lines and adjustable tails, to give flyers more control over the kite’s movement within the wind window.
In essence, the magic of kite flying lies in finding the perfect balance between aerodynamic forces. Whether you’re flying a simple diamond-shaped kite or a more complex stunt kite, the principles of aerodynamics come into play, making each flight a dynamic interaction between the kite and the invisible forces of the wind.
Flying Tips
Flying a kite can be a fun and rewarding activity, but it does require a bit of skill and practice. Here are some tips to help you fly a kite successfully:
- Choose the Right Kite:
- Start with a simple, easy-to-fly kite if you’re a beginner. Diamond-shaped and delta kites are often good choices for beginners.
- Check the Wind Conditions:
- Ideal wind conditions for flying a kite are generally between 5 and 20 miles per hour. Avoid flying in strong winds or during thunderstorms.
- Choose an Open Area:
- Find an open area free of obstacles such as trees and power lines. Beaches, parks, and fields are great places for flying kites.
- Assemble the Kite Properly:
- Follow the manufacturer’s instructions for assembling the kite. Ensure that the bridle lines are attached correctly and that any tails or additional features are secured.
- Launch the Kite:
- Position yourself with your back to the wind and gently release the kite into the wind. Hold the kite by the bridle or the spool of string.
- Let Out the String Gradually:
- As the wind catches the kite, let out the string gradually. Don’t release it all at once. Find the right balance to maintain tension in the line.
- Tune the Kite:
- If your kite is veering to one side, adjust the bridle lines slightly until it flies straight. Experiment with small adjustments to achieve balance.
- Learn to Control the Kite:
- Get a feel for the kite’s movements by gently tugging on the line. Practice steering the kite left and right. If your kite has a tail, it can help stabilize its flight.
- Watch the Wind Window:
- Understand the wind window, which is the area where the kite can fly. Keep the kite within this window to maintain control. Steer the kite higher or lower within the wind window to perform different maneuvers.
- Reel In the Kite Safely:
- When you’re ready to bring the kite down, reel in the string steadily. Avoid yanking on the line, as this can cause the kite to stall or crash.
- Be Mindful of Others:
- If you’re flying in a crowded area, be aware of people around you. Make sure there’s enough space to maneuver the kite safely.
- Practice Safety:
- Keep a safe distance from roads, buildings, and power lines. If the wind becomes too strong or conditions change, be prepared to bring the kite down.
Remember, practice makes perfect when it comes to flying kites. Don’t get discouraged if it takes a few tries to get the hang of it. Enjoy the experience and have fun watching your kite dance in the sky!
No responses yet