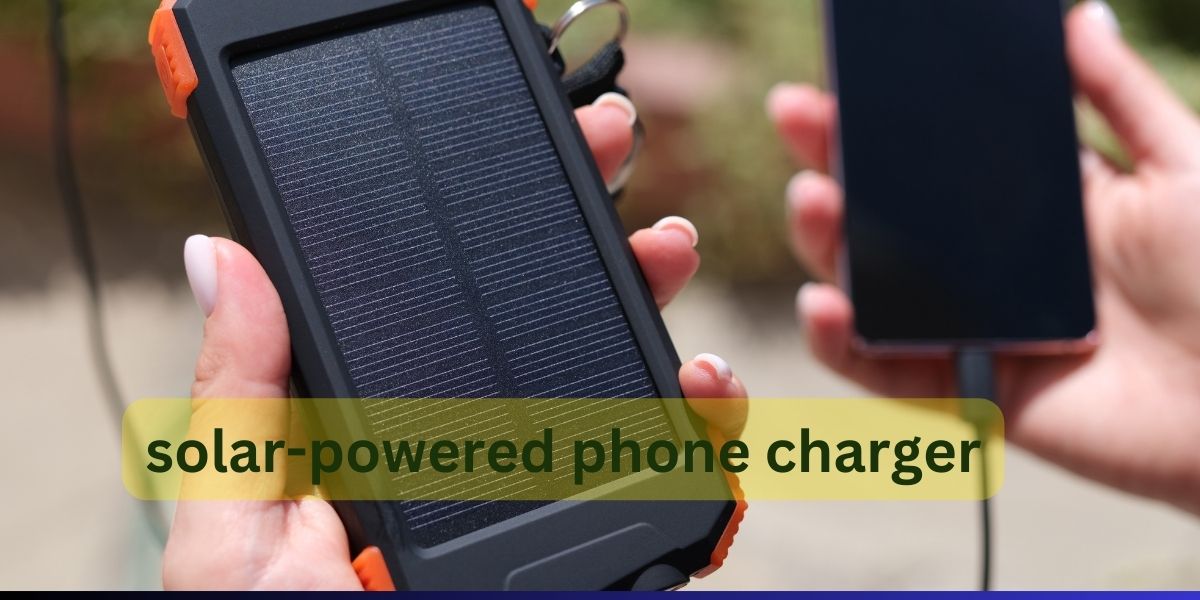
Creating a solar-powered phone charger can be an excellent school project that teaches students about renewable energy and electronics. Here’s a step-by-step guide on how to build a simple solar-powered phone charger:
Materials Needed:
- Solar panel (6V or 9V)
- Diode (to prevent reverse current)
- Voltage regulator (to stabilize the output voltage)
- Rechargeable battery
- USB charging module
- Wires
- Soldering iron and solder
- Multimeter (for testing)
Instructions:
- Choose the Solar Panel: Select a suitable solar panel based on your desired charging capacity and available sunlight. A 6V or 9V solar panel is commonly used for small-scale projects.
- Prepare the Solar Panel: Connect the positive (+) and negative (-) terminals of the solar panel to the diode. The diode prevents reverse current flow from the battery to the solar panel when there is no sunlight.
- Connect the Voltage Regulator: Connect the output of the diode to the input of the voltage regulator. The voltage regulator stabilizes the output voltage from the solar panel to ensure consistent charging voltage for the battery and the phone.
- Connect the Rechargeable Battery: Connect the output of the voltage regulator to the positive (+) and negative (-) terminals of the rechargeable battery. The battery stores the solar energy for later use when there is no sunlight.
- Connect the USB Charging Module: Connect the output of the rechargeable battery to the input of the USB charging module. The USB charging module converts the battery voltage to the appropriate voltage and current levels required to charge the phone.
- Test the Circuit: Use a multimeter to check the voltage output from the solar panel, voltage regulator, and battery. Ensure that the circuit is functioning properly and that the voltage levels are within the safe range for charging electronic devices.
- Enclose the Components: Enclose the solar panel, battery, voltage regulator, and USB charging module in a protective casing or enclosure. This helps protect the components from damage and weather conditions while providing a neat and organized appearance.
- Test the Solar-Powered Charger: Place the solar-powered charger in direct sunlight and connect your phone to the USB charging module. Monitor the charging process and ensure that the phone is charging properly.
By building a solar-powered phone charger, students can gain practical experience in electronics, renewable energy, and sustainable technology. This hands-on project encourages creativity, problem-solving, and environmental consciousness while demonstrating the potential of solar energy for everyday applications.
No responses yet